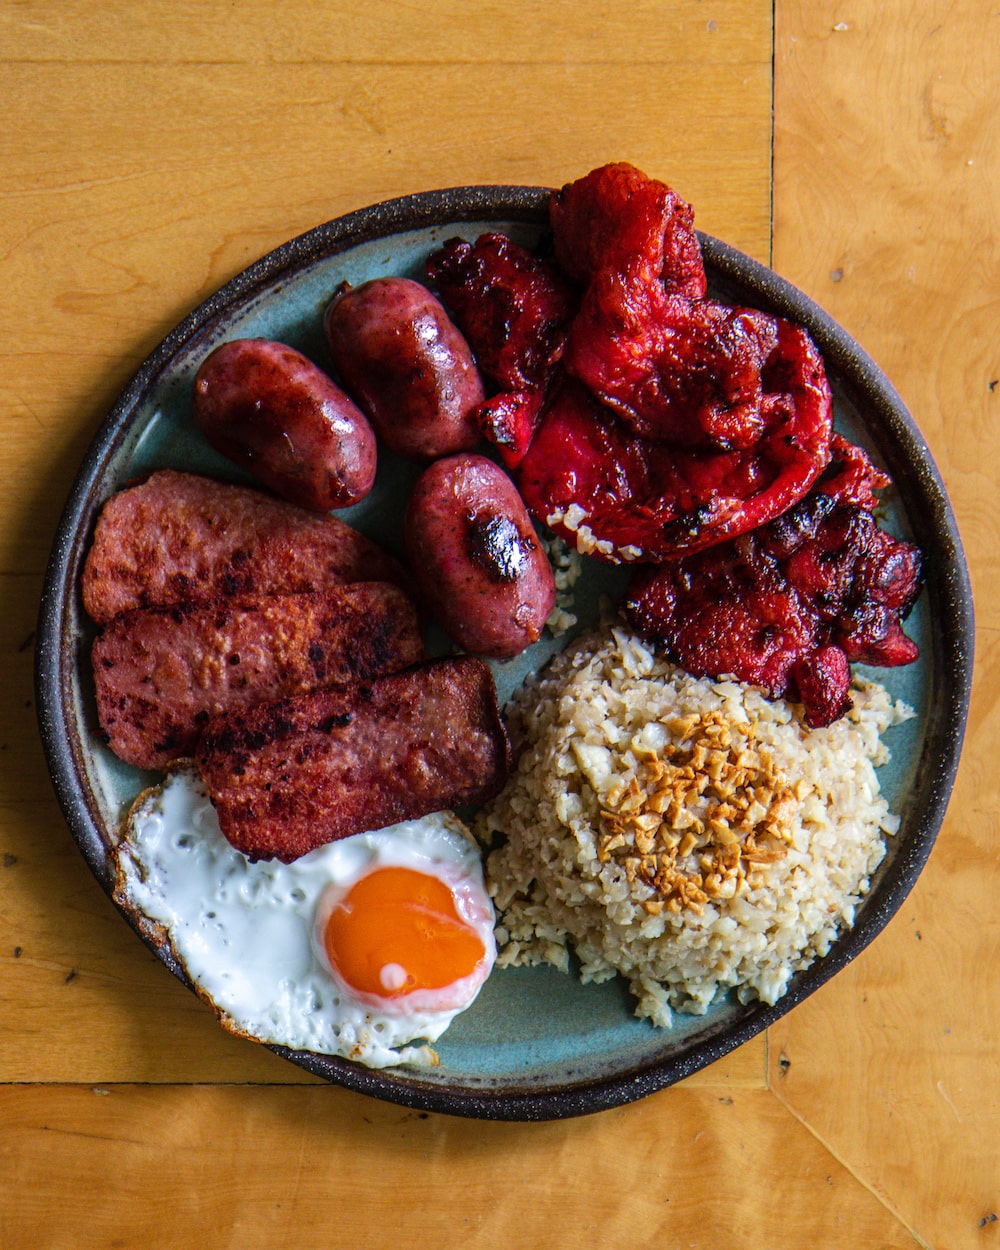
Growing up in a Filipino household, my favorite breakfast of all time is silogs or Filipino breakfast plates that pair a protein like sweet longganisa sausage or SPAM with sinangag (garlic rice) and itlog (fried egg). I could probably eat an entire wok full of garlic rice – the pungent, deeply savory, mildly nutty and salty flavors combined with the texture of those individually fried grains of carbs just make it so irresistible any time of day. But as I’ve gotten older, and especially now that we’ve been moving around less in these quarantine times, I’ve been trying to find ways to make healthier versions of the foods I love. Thankfully cauliflower rice has become the perfect solution for making a lighter garlic rice, so in this post I’m going to teach you how to make the BEST Filipino garlic rice whether you’re using actual rice or cauliflower rice.
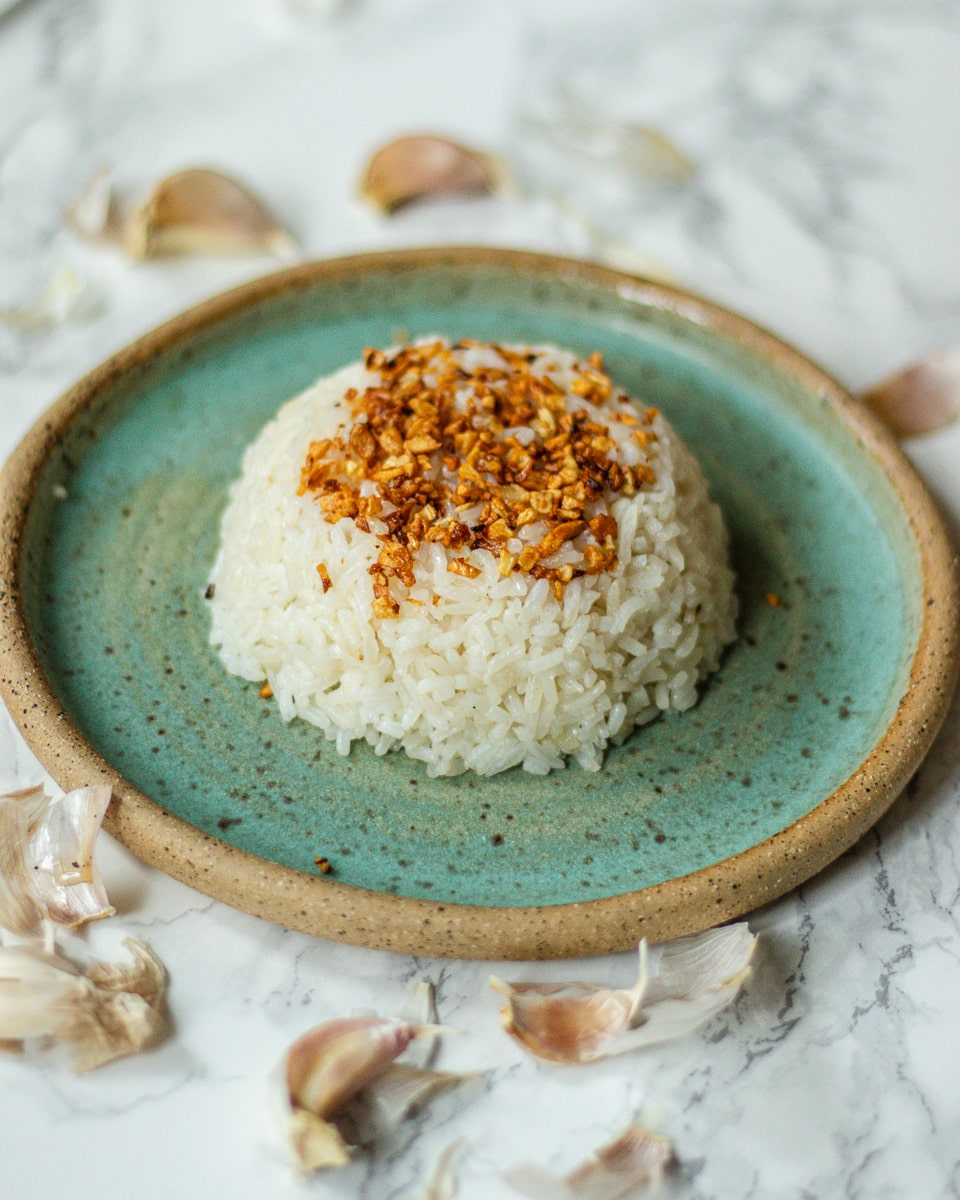
Rule #1: Use a LOT of fresh, minced garlic
Because DUH, it’s called garlic rice for a reason! You need at least 5 cloves for 2 servings, but the limit does not exist. And ALWAYS use fresh garlic over the kind in a jar – save that for stir fries or other Asian fried rice dishes as it just won’t give you the authentic Filipino flavor. It’s worth the effort peeling and mincing it yourself! Try to mince the pieces to be about the same size so everything will get to golden brown in the same amount of time.
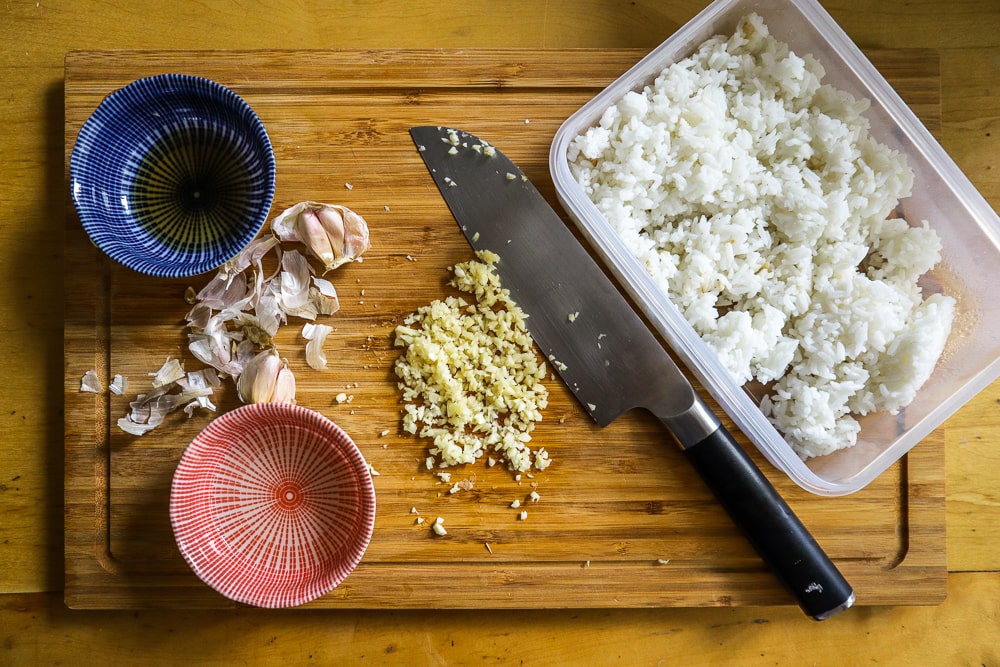
Rule #2: Fry your garlic separately
You may be tempted to just fry the garlic together with your rice and call it a day, but the best sinangag is topped with perfectly fried, crispy garlic bits that add both flavor and texture to your rice. Minced garlic is a delicious but fickle ingredient – it can go from perfectly crispy to burnt if you’re not paying attention, which can result in a bitter taste. By frying the garlic separately instead of together with your rice, which may take longer to get to the right temperature (more on that in Rule #3), you can ensure the garlic fries to a perfect golden brown. And don’t worry – you’ll still get all of the garlic flavor since it will permeate into the oil that you will use to fry your (cauliflower) rice.
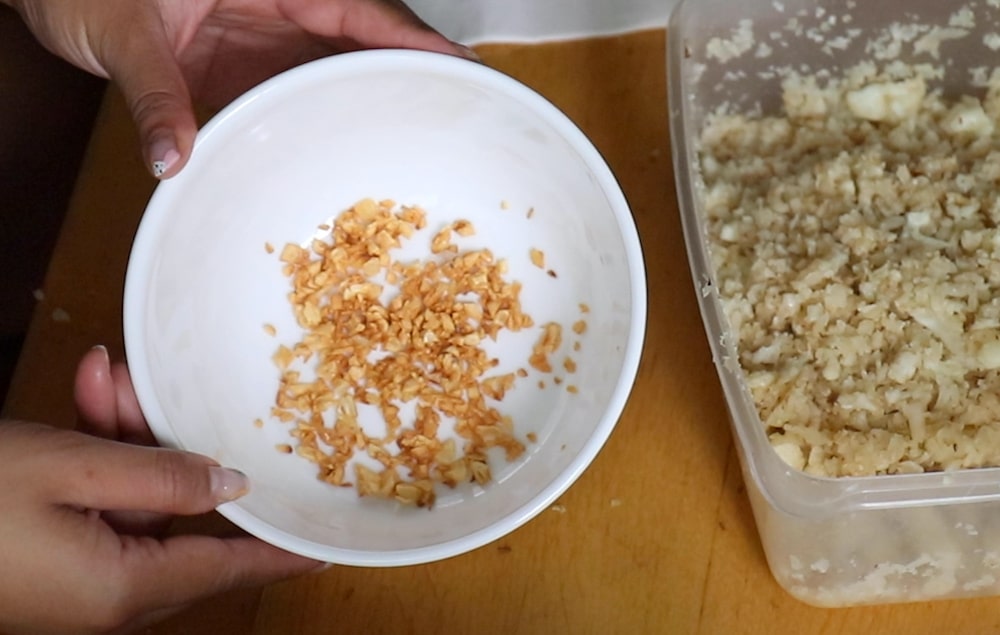
Rule #3: Use cold leftover rice
Have you ever had soggy, gummy, or clumpy fried rice? It’s usually the result of using freshly made, warm rice, which has too much moisture to produce the individual, chewy grains that you get from a great fried rice. Enter cold leftover rice! I have memories growing up of taking the rice cooker pot out of the fridge, and using my bare (clean) hands to break the cold rice apart into individual grains directly into the hot, garlic oil-slicked skillet. Because the rice has dried out a bit, you’ll get that ideal texture for your fried rice. And since you’ve already fried and separated the garlic, you can stir fry that cold rice for as long as you need to get the perfect temperature, texture and color without any fear of burning the minced garlic. If you need to use fresh rice, try spreading it out on a baking tray right after its cooked to break the rice apart and let the steam escape to minimize the moisture you’re throwing into the pan.
What about cauliflower rice?
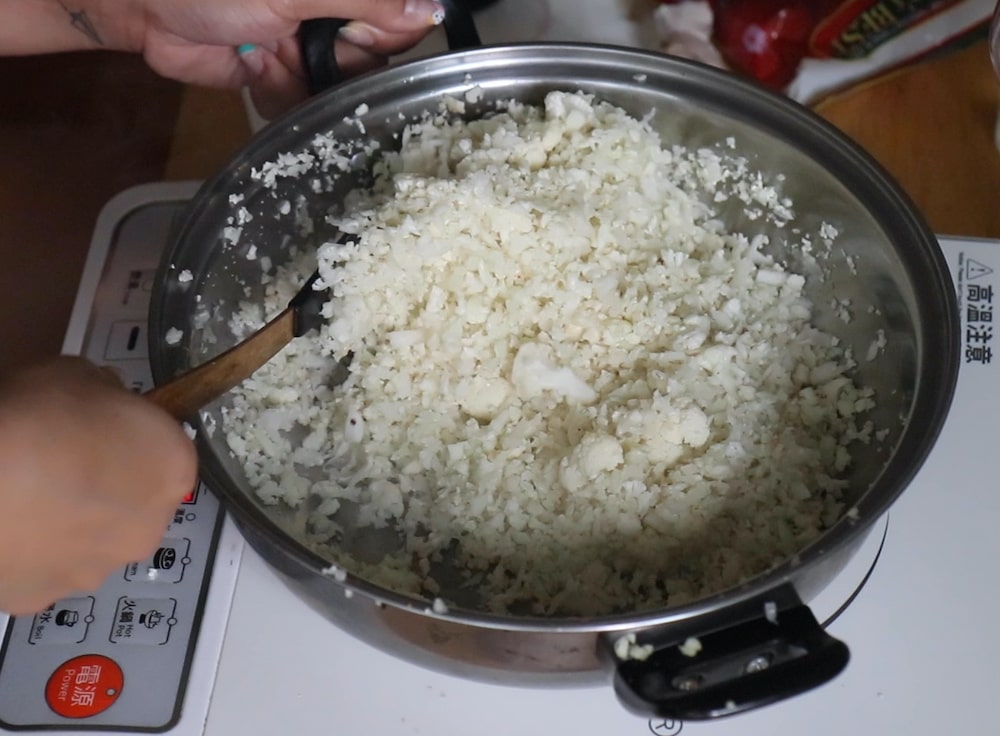
If you’ve been following me for some time, you know that I’ve been making garlic fried rice with cauliflower since practically day one of this blog (though with SUCH UGLY PHOTOS WOW 🙈). It really is a great substitute for rice that’s delicious, nutritious, and very easy to make (though you’re welcome to use packaged store-bought cauliflower rice as well). To turn your cauliflower into rice, simply use a food processor or a box grater until you get a rice-like consistency. From there, you can fry it up right away. If there’s too much moisture in your cauliflower, you can use paper towels, a clean dish towel, or cheese cloth to wring out the excess moisture to dry it out to produce the most fried rice-like texture.
Filipino Garlic Rice (Sinangag) 2 Ways – White Rice & Cauliflower Rice
Ingredients
- 4 cups cold white rice or cauliflower rice
- 2 tbsp. neutral oil (like canola, avocado, or peanut)
- 1 bulb of garlic, minced
- 1 tbsp butter (optional)
- 2 tbsp. fish sauce or 2 tsp. salt, more to taste
Instructions
- Heat 2 tbsp. oil over medium low heat, then add the minced garlic and cook until the garlic has just turned a golden brown, about 3 minutes. Remove from heat, and separate fried garlic from the oil while keeping the oil in the pan, setting aside the fried garlic in a small bowl.
- Heat the garlic-infused oil (and butter if using) over medium high heat.
- If using rice, use clean hands to break up the rice into individual grains as much as possible directly into the pan. If using cauliflower rice, simply add the cauliflower rice into the pan.
- Stir fry the (cauliflower) rice until cooked/heated through, a few minutes for white rice, and 5-8 minutes for cauliflower rice. Season with fish sauce or salt to taste, stirring to combine well.
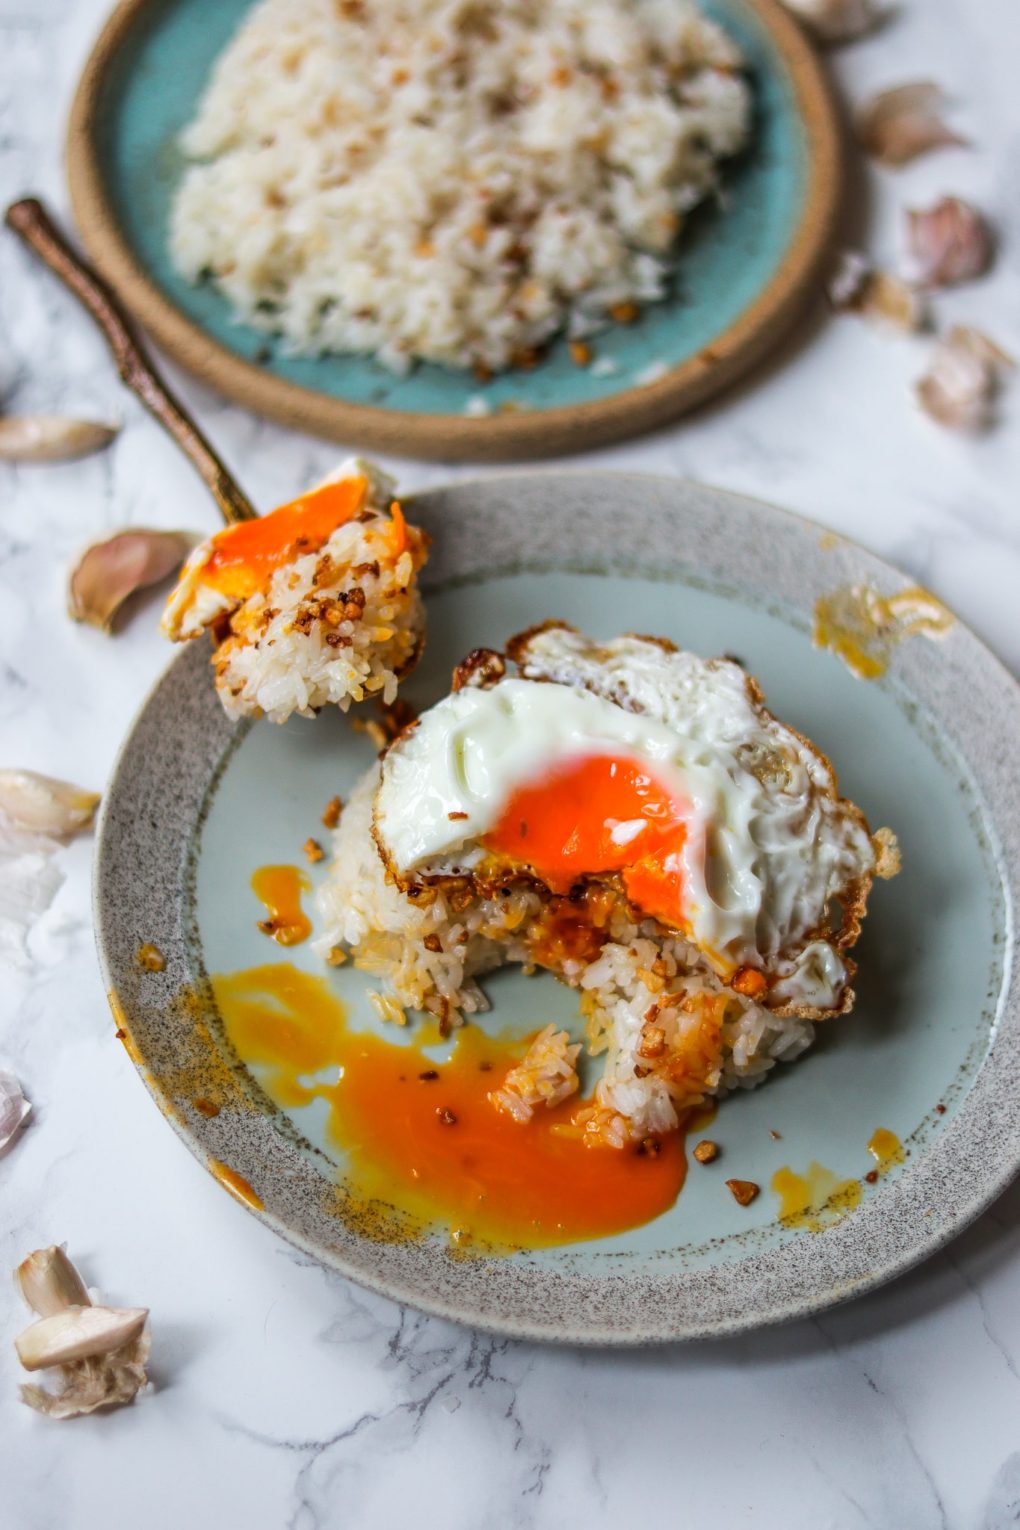
- Top with fried garlic and serve. For optimal presentation, add some fried garlic into a small bowl then fill with rice. Place a plate on the top of the bowl and flip over, removing the bowl to form a perfectly round mound of garlic rice. Enjoy with a fried egg, Filipino protein, or on its own.
Notes
If you make this recipe, I’d love to see the final product. Tag your stories and posts on Instagram with #SarapSundayz and @IndulgentEats so I can see them!

[…] good steak and eggs is one of the most satisfying breakfasts around (next to Filipino breakfast of course). There’s just something about having a perfectly seared steak with juicy and […]
[…] in the tropical climates of the Philippines. It’s often eaten for breakfast as corned beef silog with garlic rice and a fried egg, or more simply spread inside a toasted pandesal roll (one of my […]
[…] super easy to make as long as you have a box grater or food processor, and can be used to make Filipino garlic rice or in the low carb burrito bowls I shared on my story (which I’ll be sharing the full recipe […]
[…] fryer lechon kawali, so make sure you’ve pre-ordered a copy to get the recipe. Try it with garlic rice for a complete […]